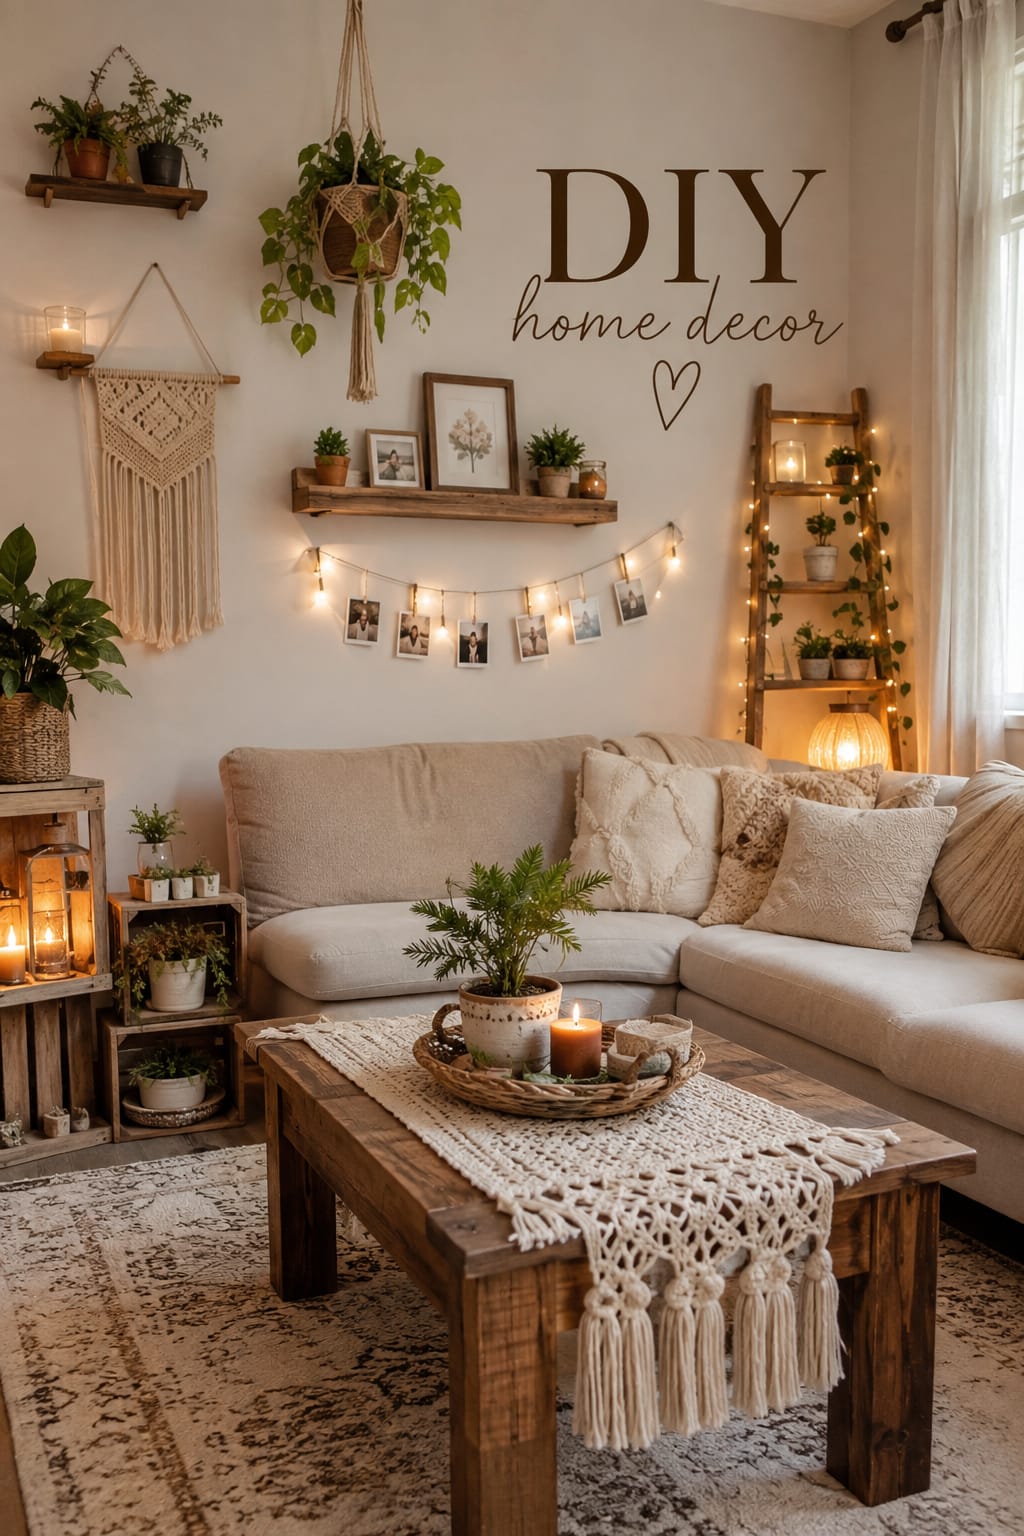
DIY home decor is one of the easiest ways to make your home feel personal, stylish, cozy, and unique without spending a fortune. Instead of purchasing every decorative item from a store, you can transform simple materials, old furniture, empty walls, and everyday objects into beautiful pieces that reflect your personality. Whether you live in a small apartment, a rented house, or a spacious family home, DIY decorating gives you the freedom to create a space that feels truly yours.

The best DIY home decor projects do not require professional skills. Many beautiful projects can be completed with basic materials, simple tools, and a little patience. A plain wall can become an attractive gallery display, an inexpensive mirror can be transformed into an elegant statement piece, and an old piece of furniture can receive a completely new look with paint and updated hardware. Even small projects, such as handmade cushions or decorative candle holders, can make a noticeable difference.
One of the biggest advantages of DIY decorating is affordability. Home decor can become expensive when you purchase multiple accessories, artwork, furniture pieces, and seasonal decorations. DIY projects allow you to achieve a similar visual impact for much less money. You can purchase inexpensive materials from craft stores or hardware stores, reuse items you already have, or repurpose objects that might otherwise be thrown away.
DIY home decor is also perfect for people who enjoy changing their interiors regularly. Instead of replacing your entire room every season, you can create small decorative updates. For example, you might make warm-toned cushions and candle holders for fall, lighter fabrics for spring, or cozy textured accessories for winter. These small changes can refresh your home without requiring a major renovation.
Another reason DIY decor is so popular is customization. Store-bought products are created for a wide audience, which means they may not have the exact color, size, shape, or style you need. When you make something yourself, you control every detail. You can choose the colors that match your sofa, the dimensions that fit your wall, and the textures that complement your furniture.
For beginners, the key is to start small. Do not begin with a complicated furniture-building project if you have never used basic tools before. Start with simple projects such as wall art, cushion covers, candle holders, trays, or painted accessories. As you become more comfortable, you can move toward furniture makeovers, shelving, and larger decorative projects.
A successful DIY project should also solve a decorating problem. Before beginning, look around the room and ask what is missing. Does the space need more texture? Does an empty wall need a focal point? Is the entryway cluttered? Does the room need warmer lighting? Is an old piece of furniture making the room look dated? Once you identify the problem, you can choose a DIY solution.
The goal is not to make every object in your home yourself. A beautiful interior usually combines purchased furniture with handmade and personalized elements. A professionally designed sofa can look even more attractive when paired with handmade cushions. A simple coffee table can become more stylish with a DIY tray. A neutral bedroom can feel more personal with handmade artwork.
In this article, you will discover ten practical DIY home decor ideas that can help you create a stylish and inviting home on a budget. Each idea includes an explanation, materials, step-by-step instructions, styling suggestions, and beginner-friendly tips.
Whether you are decorating your first apartment, refreshing your living room, upgrading your bedroom, or simply looking for your next weekend project, these DIY ideas can help you create a home that feels beautiful, comfortable, and personal.
1.Create a DIY Gallery Wall for an Instant Focal Point

A DIY gallery wall is one of the easiest ways to transform an empty wall into a beautiful focal point. Instead of spending a large amount of money on expensive artwork, you can combine photographs, printable artwork, sketches, quotes, postcards, children’s artwork, or handmade pieces.
Gallery walls work particularly well above sofas, beds, console tables, desks, and staircases. They can also be adapted to almost any decorating style.
Materials You Will Need
Picture frames
Printed photographs or artwork
Measuring tape
Pencil
Level
Removable hanging strips or suitable wall hardware
Paper for templates
Optional decorative objects
Step-by-Step Instructions
Begin by choosing the wall.
Measure the available space so you know how large the gallery should be. A common mistake is creating a gallery that is too small for a large wall.
Next, choose a color palette.
For an elegant look, use black, white, cream, wood, or metallic frames. For an eclectic appearance, combine different frame styles while keeping the artwork connected through color.
Lay all the frames on the floor.
Experiment with different arrangements before hanging anything.
For beginners, create paper templates that match each frame. Tape the templates to the wall first. This allows you to adjust the layout without repeatedly putting holes in the wall.
Keep the spacing relatively consistent.
A few inches between frames usually creates a cohesive appearance.
Choose Meaningful Artwork
Your gallery wall does not need to contain only professional artwork.
Include:
Family photographs
Travel photographs
Printable illustrations
Minimalist artwork
Inspirational quotes
Vintage postcards
Children’s drawings
Abstract paintings
The goal is to make the wall feel personal.
How to Make It Look Expensive
Use a limited color palette.
For example, black-and-white photographs combined with black frames can create a sophisticated appearance.
Alternatively, use warm neutral artwork with natural wood frames for an organic style.
Avoid overcrowding the wall.
The empty space between pieces is important.
Pinterest Styling Tip
Place a console table underneath the gallery wall and add a lamp, small vase, books, or decorative bowl.
This creates multiple layers and makes the entire arrangement feel professionally styled.
2.Transform an Ordinary Mirror With a DIY Decorative Frame
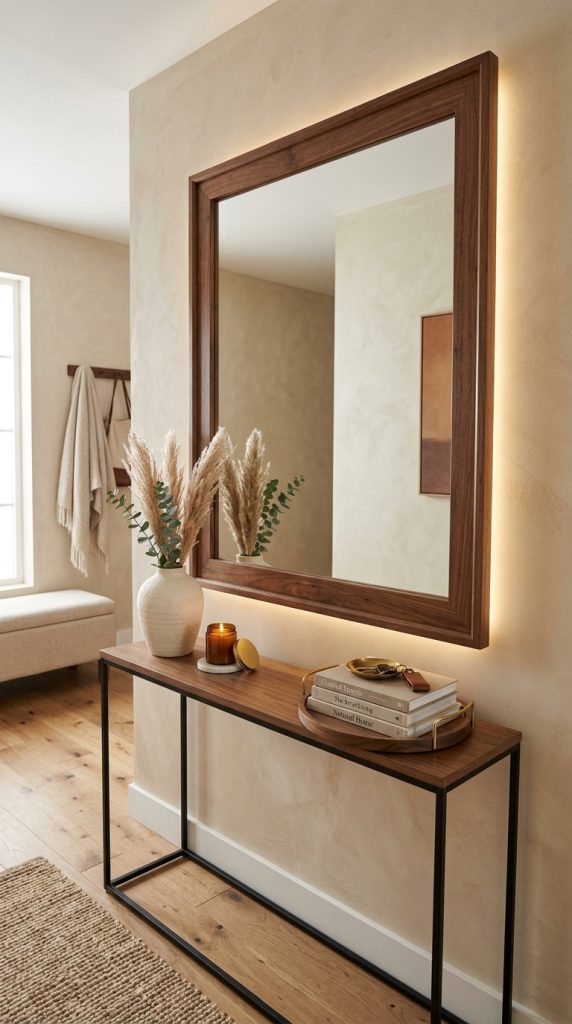
A mirror can make a room appear brighter and more spacious, but decorative mirrors can sometimes be expensive. Creating a DIY frame around an inexpensive mirror is a simple way to achieve a custom appearance.
This project works beautifully in bedrooms, bathrooms, entryways, living rooms, and hallways.
Materials You Will Need
Plain frameless mirror
Wooden trim
Measuring tape
Wood glue
Sandpaper
Paint or wood stain
Paintbrush
Suitable adhesive
Mounting hardware
Step-by-Step Instructions
Measure your mirror carefully.
The measurements determine the length of the frame pieces.
Choose a frame style.
Straight wooden trim gives a modern appearance, while thicker molding creates a more traditional look.
Sand the wood carefully.
Smooth surfaces create a more polished finished product.
Paint or stain the frame pieces before installation.
Allow them to dry completely.
Attach the frame around the mirror using an appropriate adhesive or mounting system.
Choose the Right Color
Neutral colors are usually the most versatile.
Consider:
Warm white
Cream
Beige
Black
Walnut
Soft gray
Subtle metallic finishes
Choose a shade that complements your existing furniture.
Add Lighting Around the Mirror
Lighting can make the mirror even more attractive.
In a bedroom or entryway, warm lighting near the mirror can create a cozy atmosphere.
If electrical lighting is involved, make sure installation is handled safely and appropriately.
Styling the Area
Place the mirror above a console table.
Add a small tray, vase, candle, or decorative bowl underneath.
Do not overcrowd the area.
The mirror should remain the primary focal point.
3.Make a Cozy DIY Decorative Cushion Cover

Changing cushions is one of the simplest ways to refresh a living room or bedroom. Instead of purchasing new cushions every season, you can make your own decorative covers.
This project is particularly useful if you already have cushion inserts at home.
Materials You Will Need
Fabric
Cushion insert
Measuring tape
Scissors
Needle and thread or sewing machine
Pins
Fabric marker
Iron
Optional decorative trim
Choose the Fabric
Fabric determines much of the final appearance.
For a cozy room, consider:
Cotton
Linen
Velvet
Woven fabric
Textured fabric
Neutral shades such as cream, beige, taupe, and brown create an elegant appearance.
For more color, try muted terracotta, dusty blue, olive, mustard, or soft pink.
Step-by-Step Instructions
Measure your cushion insert.
Cut the fabric according to your measurements while allowing room for seams.
An envelope-style cover is beginner-friendly because it does not require a zipper.
Fold the fabric correctly so the back panels overlap.
Sew the edges.
Turn the cover right-side out.
Press it with an iron.
Insert the cushion.
Add Decorative Details
You can personalize the cushion with:
Buttons
Ribbon
Simple embroidery
Decorative borders
Small fabric patterns
Avoid adding too many details to every cushion.
Instead, combine simple cushions with one or two decorative statement cushions.
Pinterest Styling Tip
Create a layered sofa arrangement.
Use different sizes and textures rather than making every cushion identical.
For example, combine large neutral cushions with one textured cushion and one smaller patterned piece.
This creates depth while keeping the arrangement visually balanced.
4.Turn Glass Jars Into Elegant DIY Candle Holders

Empty glass jars can easily become attractive candle holders. This is a low-cost DIY project that works particularly well for coffee tables, dining tables, shelves, bedrooms, bathrooms, and entryways.
Materials You Will Need
Clean glass jars
Battery-operated candles or suitable candles
Paint
Paintbrush
Twine
Ribbon
Optional decorative stones
Optional seasonal decorations
Prepare the Jars
Clean the jars thoroughly.
Remove labels and adhesive residue.
Dry the jars completely before decorating.
For a minimalist look, leave the glass transparent.
You can simply add a piece of twine or ribbon around the top.
Paint the Glass
If you want a more decorative appearance, use suitable glass paint.
Soft neutral colors work well with modern interiors.
Try:
Cream
White
Beige
Soft gray
Muted brown
You can create a distressed finish by lightly sanding selected areas after the paint has dried.
Add Seasonal Details
For fall, use warm neutral colors and natural-looking decorative elements.
For winter, consider white and subtle metallic accents.
For spring, soft pastel details can make the arrangement feel fresh.
Safety Considerations
Never leave an open flame unattended.
Battery-operated LED candles are a practical alternative, particularly in homes with children or pets.
Make sure any real candle is appropriate for the container and placed on a stable, heat-resistant surface.
Styling Tip
Group three jars together.
Use different heights to create visual interest.
Place them on a decorative tray to create a cohesive arrangement.
The soft glow can instantly make a room feel warmer and more inviting.
5.Build a DIY Wooden Tray for Coffee Table Styling

A DIY wooden tray is both decorative and functional. It helps organize coffee table accessories and makes the table look more intentionally styled.
Materials You Will Need
Wooden board
Handles
Screws
Drill
Measuring tape
Sandpaper
Paint or stain
Protective finish
Choose the Right Size
Measure your coffee table before selecting the board.
The tray should leave enough open space around it.
A tray that is too large can make a small coffee table appear crowded.
Prepare the Wood
Sand the board thoroughly.
Remove all dust.
Choose a finish that complements your room.
Natural wood is excellent for rustic and organic interiors.
Cream or black can create a more contemporary appearance.
Add Handles
Measure the handle positions carefully.
Mark the locations.
Drill and attach the handles securely.
If you are inexperienced with tools, consider asking someone experienced to assist.
Style the Tray
Use the simple formula:
Tall + organic + decorative.
For example:
A vase
A small plant
A candle
A stack of books
A decorative bowl
Do not fill the entire tray.
Empty space makes the arrangement feel more sophisticated.
Pinterest Styling Tip
Place two or three carefully selected objects on the tray rather than filling it with small accessories.
Repeat colors already present in your living room.
This creates visual connection and makes the coffee table feel professionally styled.
6.Create DIY Floating Shelves for Decor and Storage

Floating shelves are a fantastic way to use vertical space. They can provide additional storage while also creating an attractive decorative display.
They are especially useful in small homes and apartments.
Materials You Will Need
Wooden shelf boards
Appropriate brackets or floating shelf hardware
Screws
Wall anchors
Measuring tape
Level
Pencil
Drill
Sandpaper
Paint or stain
Plan the Shelves
Decide what you want to place on the shelves before installing them.
Consider:
Books
Plants
Frames
Candles
Baskets
Decorative objects
Heavy items require appropriate hardware.
Always use mounting hardware suitable for your wall type and intended load.
Prepare the Wood
Sand the boards until smooth.
Choose a natural wood finish or paint.
Natural wood can make a neutral room feel warmer.
A darker finish can create contrast against a light wall.
Install Carefully
Measure the wall.
Mark the mounting points.
Use a level to ensure the shelves are straight.
Install suitable brackets or hardware.
Do not overload the shelves.
Style the Shelves
Combine different heights.
Place a tall object beside smaller objects.
Lean artwork against the wall instead of hanging every piece.
Use a combination of:
Books
Plants
Ceramic objects
Candles
Frames
Baskets
Avoid Visual Clutter
Do not fill every inch.
Leave some empty space.
Repeat a few colors across the shelves to make the display cohesive.
7.Make a DIY Textured Wall Art Piece
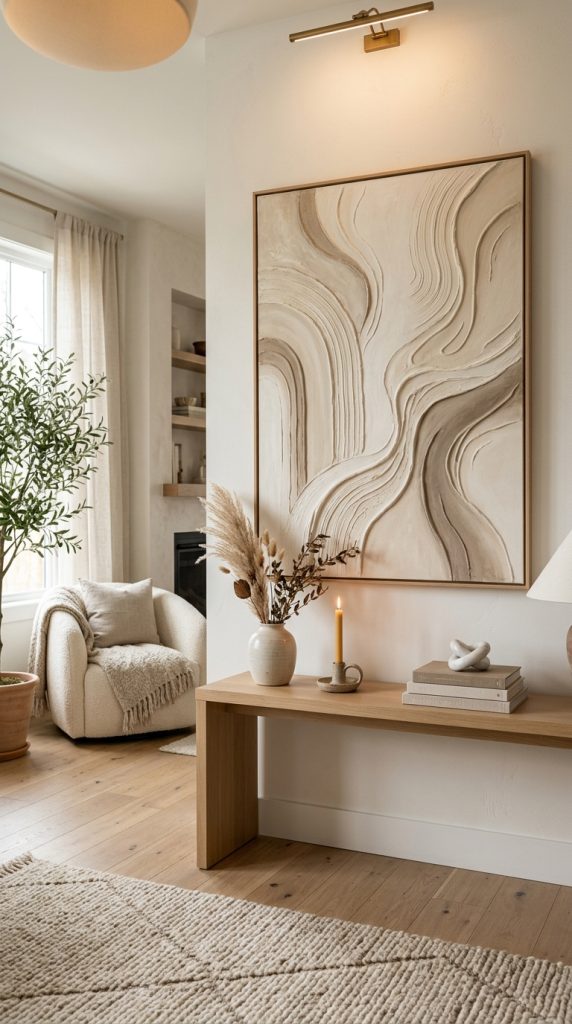
Textured wall art can create a sophisticated focal point without requiring advanced painting skills.
This project is particularly suitable for neutral, modern, minimalist, organic, and contemporary interiors.
Materials You Will Need
Canvas
Texture paste or suitable modeling medium
Palette knife
Acrylic paint
Paintbrush
Pencil
Protective covering
Optional frame
Choose a Simple Design
You can create:
Abstract curves
Arches
Organic shapes
Minimal lines
Waves
Geometric patterns
Simple designs are often easier for beginners.
Apply the Texture
Lightly sketch your design.
Use the palette knife to spread texture medium over the canvas.
Experiment with ridges and curves.
Do not worry about making everything perfectly symmetrical.
Allow the texture to dry completely.
Add Color
Neutral colors are highly versatile.
Try:
Warm white
Cream
Beige
Taupe
Brown
Soft gray
You can also introduce a subtle accent color if your room needs more visual interest.
Frame the Artwork
A simple wooden frame can give handmade artwork a more polished appearance.
Alternatively, leave the canvas unframed for a contemporary look.
Display It
Large textured artwork works particularly well above:
Sofas
Beds
Console tables
Desks
Give the artwork enough surrounding space so it remains the focal point.
8.Give an Old Piece of Furniture a DIY Makeover
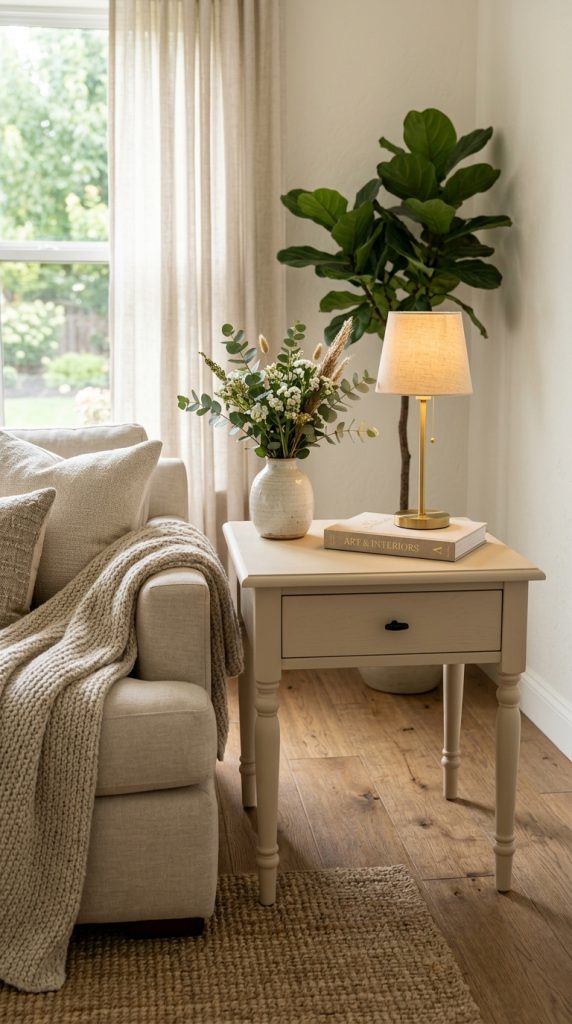
Before buying new furniture, consider whether an old piece can be transformed.
A tired nightstand, side table, cabinet, or small dresser can often receive a completely new appearance with preparation, paint, and updated hardware.
Materials You Will Need
Existing furniture
Cleaning supplies
Sandpaper
Primer
Paint
Paintbrush or roller
New handles or knobs
Protective finish
Screwdriver
Prepare the Furniture
Clean the surface thoroughly.
Remove existing hardware.
Repair obvious damage.
Sand the surface appropriately.
Good preparation is one of the most important parts of a successful furniture makeover.
Choose a New Color
For a soft contemporary look, try:
Cream
Warm beige
Soft gray
Muted green
Charcoal
A darker shade can create a dramatic statement piece.
Paint Carefully
Apply primer when appropriate.
Use thin coats.
Allow sufficient drying time between coats.
Follow the instructions for your selected paint.
A smooth finish usually looks more professional than applying one thick coat.
Upgrade the Hardware
New hardware can dramatically change the furniture.
Consider:
Simple metal handles
Brass-style hardware
Ceramic knobs
Wooden knobs
Minimal black pulls
Choose hardware that complements the rest of your room.
Style the Finished Piece
Add only a few decorative objects.
A lamp, framed artwork, small vase, or candle can be enough.
Avoid covering the entire surface.
The finished furniture should remain practical.
9.Create a DIY Entryway Organizer With Style

The entryway sets the tone for your entire home. A DIY organizer can help keep everyday items under control while also creating an attractive first impression.
Materials You Will Need
Wooden board
Hooks
Screws
Suitable wall anchors
Paint or stain
Sandpaper
Measuring tape
Level
Optional shelf
Small basket
Decide What You Need to Store
Think about your daily routine.
Your organizer might hold:
Keys
Bags
Hats
Small accessories
Everyday essentials
Choose the number of hooks based on your needs.
Prepare the Board
Sand the board.
Apply paint or stain.
Natural wood creates a warm and welcoming appearance.
A painted board can create contrast against the wall.
Add the Hooks
Measure carefully.
Mark the locations.
Keep the hooks evenly spaced.
Attach them securely using suitable hardware.
Add Decorative Elements
If there is enough space, add a small shelf.
A framed print can make the organizer more decorative.
A small bowl can hold keys.
A basket can collect mail.
Keep the Area Organized
The organizer should prevent clutter rather than create another place for clutter to collect.
Give everything a specific location.
If an item is rarely used, store it elsewhere.
Add a Mirror
If space allows, place a mirror above or beside the organizer.
A mirror can make a small entryway appear larger and can also reflect light.
10.Create a DIY Cozy Reading Nook With Layered Decor

A cozy reading nook can transform an unused corner into one of the most inviting areas of your home.
You do not need an entire room.
A comfortable chair, good lighting, a small table, and a few personal accessories can be enough.
Materials You Will Need
Comfortable chair
Small side table
Reading lamp
Cushion
Throw blanket
Small rug
Books
DIY artwork
Decorative basket
Optional plant
Choose the Location
Look for an unused corner.
A location near a window can provide pleasant natural light during the day.
Make sure the chair does not block doors, walkways, heating vents, or other important areas.
Create Comfort
Start with a comfortable chair.
Add a cushion for extra support.
Place a soft throw casually over the chair.
Add a small rug to visually define the area.
Add Warm Lighting
Lighting is essential for a reading corner.
Choose a lamp that provides adequate reading light without harsh glare.
Warm lighting can create a relaxing atmosphere in the evening.
Make sure electrical cords are safely positioned.
Add a DIY Element
Personalize the nook with something handmade.
You could create:
DIY wall art
A wooden tray
A handmade cushion cover
A floating bookshelf
A decorative bookmark holder
Style the Books
Keep several favorite books within easy reach.
Place a small stack on the side table.
Add one decorative object on top if desired.
Avoid creating a large, unstable pile.
Add Texture
A woven basket can hold blankets.
A textured cushion can make the chair feel more inviting.
Wooden accessories can add warmth.
If you use plants, choose one that suits the available light and your ability to care for it.
Make It Personal
Add something meaningful.
It could be:
A favorite book
A framed photograph
A handmade object
A favorite mug
A small piece of artwork
These personal details make the reading nook feel like a real part of your home rather than a staged corner.
Final Thoughts:
DIY home decor is not about creating a perfect home overnight. It is about making thoughtful changes that help your space become more comfortable, beautiful, functional, and personal.
The ten ideas above offer simple ways to refresh different areas of your home without relying on expensive decor. A gallery wall can give an empty wall personality, while a framed mirror can create a sophisticated focal point. Handmade cushions can add texture, DIY candle holders can create warmth, and a wooden tray can instantly organize a coffee table.
Floating shelves can provide both storage and decoration, while handmade textured artwork can bring an artistic element to an otherwise plain wall. Furniture makeovers allow you to reuse pieces you already own, and an entryway organizer can solve everyday clutter problems. Finally, a cozy reading nook can turn an unused corner into a relaxing retreat.
The most important thing is to choose projects based on what your home actually needs. If your room feels empty, focus on artwork. If it feels cold, introduce texture and warm lighting. If it feels cluttered, prioritize storage. If your furniture looks outdated, consider a makeover before purchasing replacements.
You also do not need to complete all ten projects at once. Start with one project that excites you and build from there.
A beautiful DIY home is created through small, intentional details. With affordable materials, creativity, and a willingness to experiment, you can create decor that looks stylish while still feeling personal.
The result should not simply look good—it should feel like your home.
Leave a Reply